
Last updated September 10, 2026
Full 25-point door and opener safety check with every visit - springs, cables, rollers, tracks, and your LiftMaster or Chamberlain opener included
You get a price before we start. It does not change when the truck arrives.

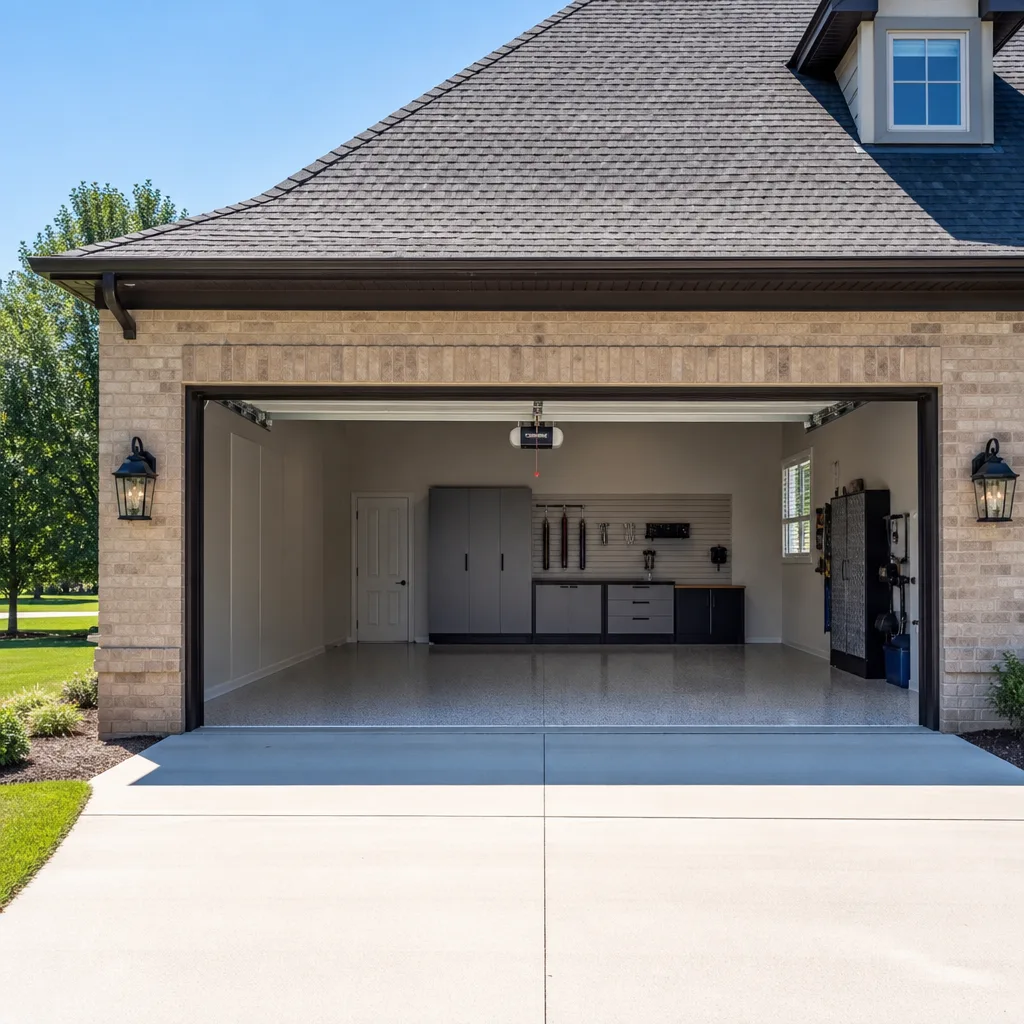
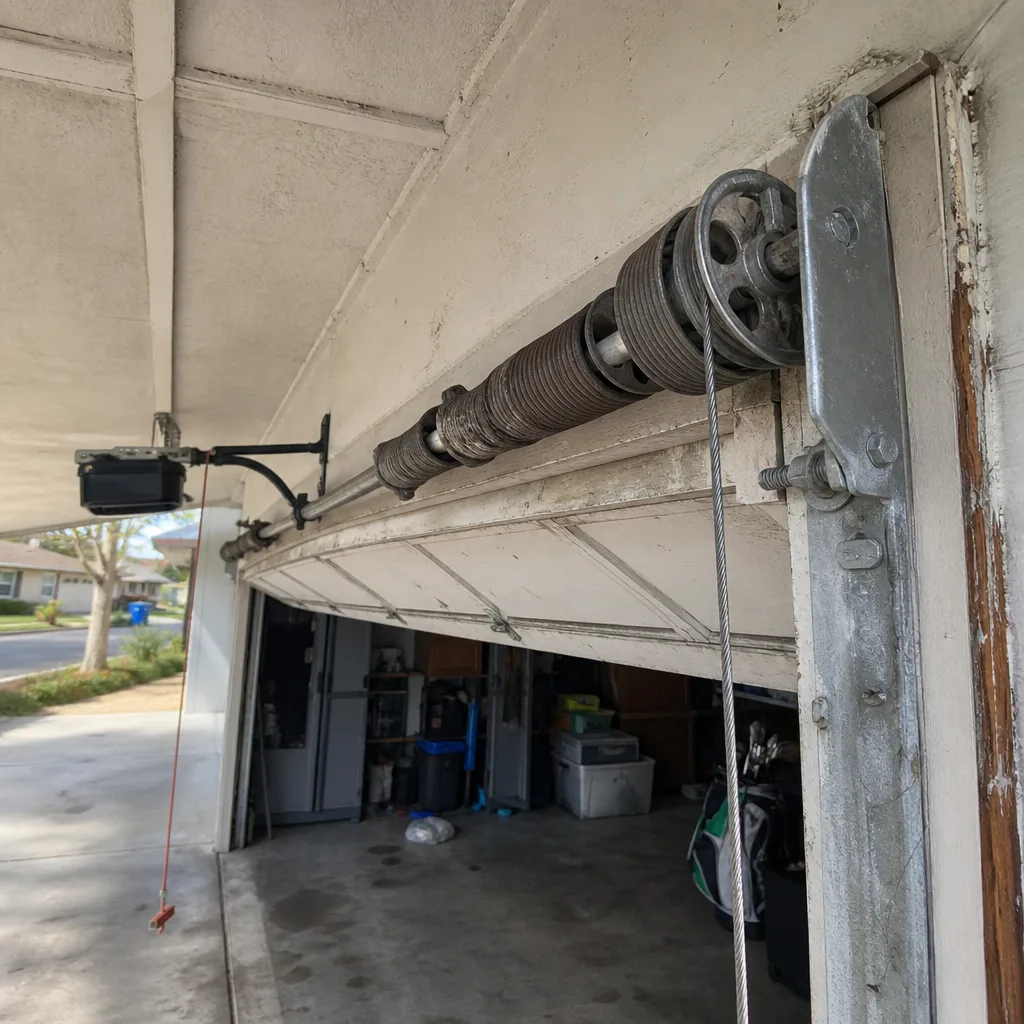 Before
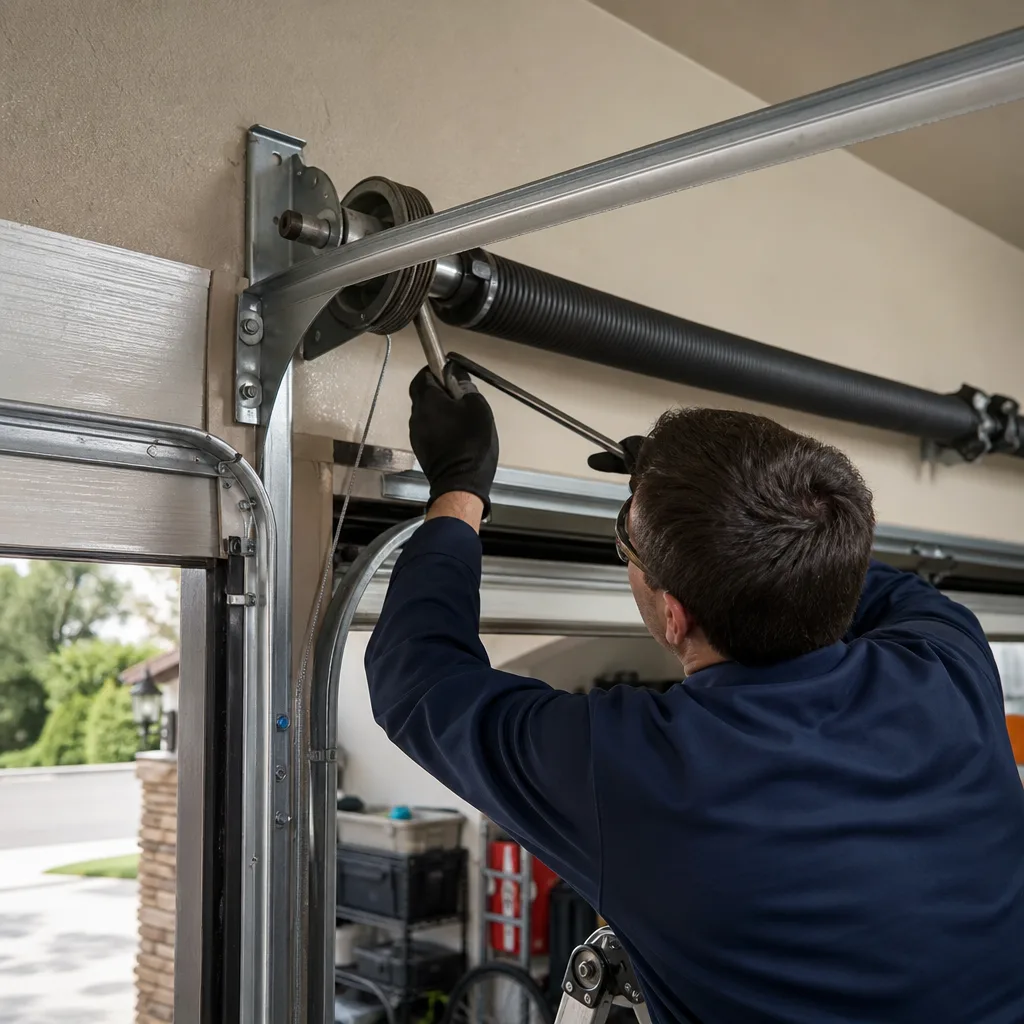 After
After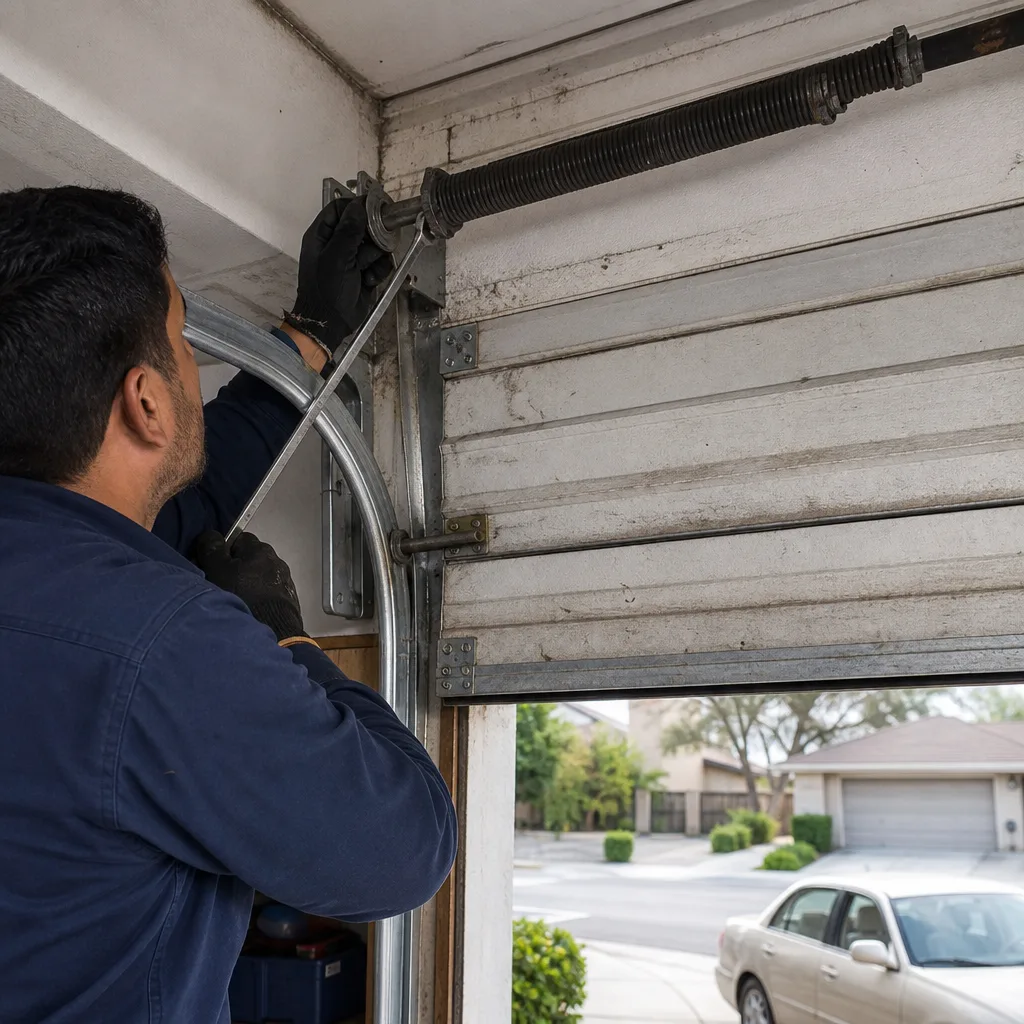 Before
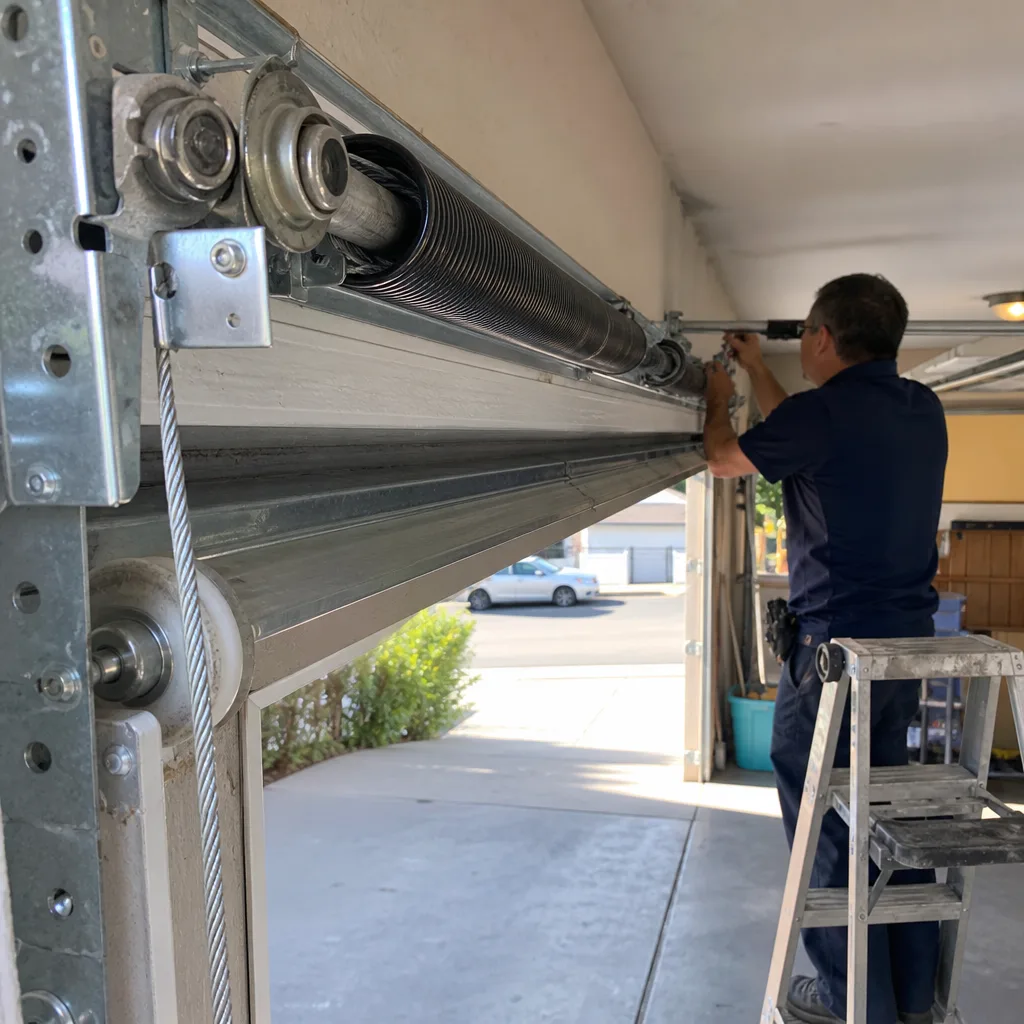 After
After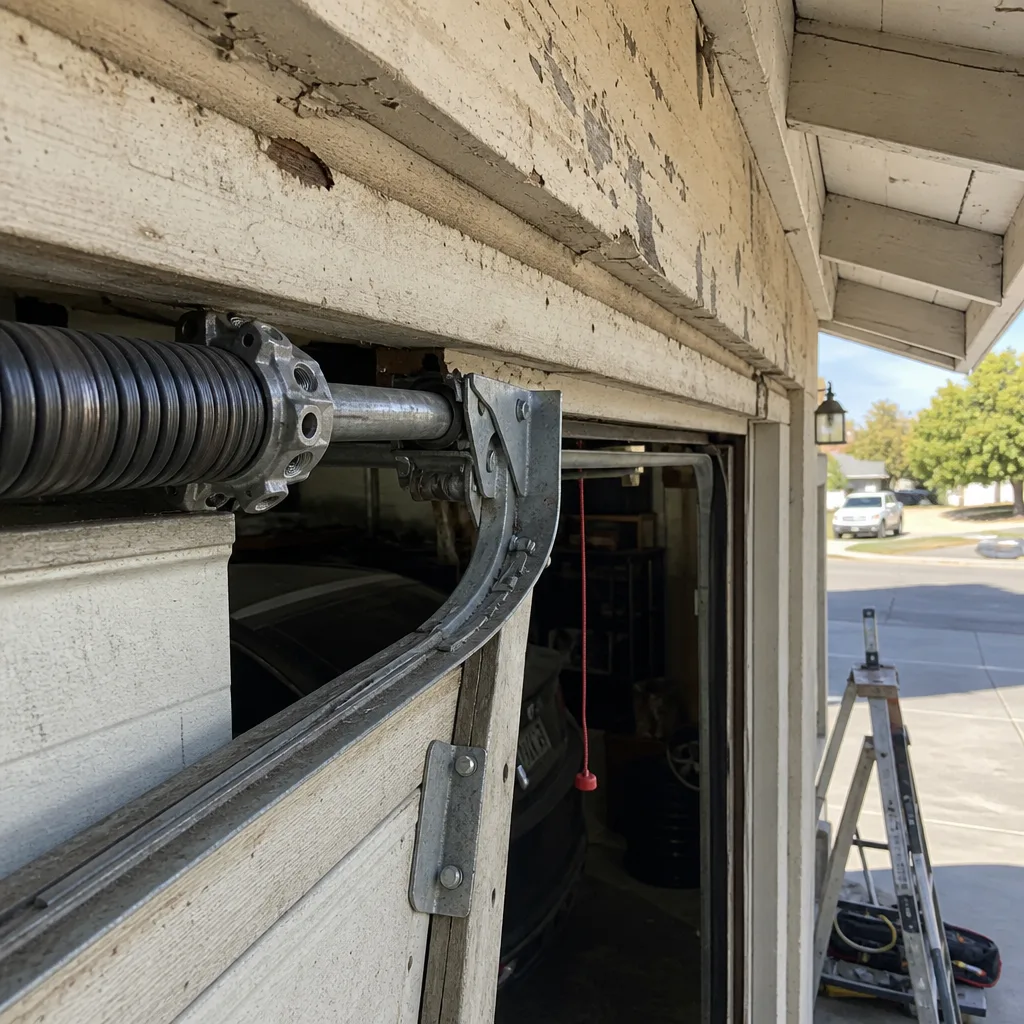 Before
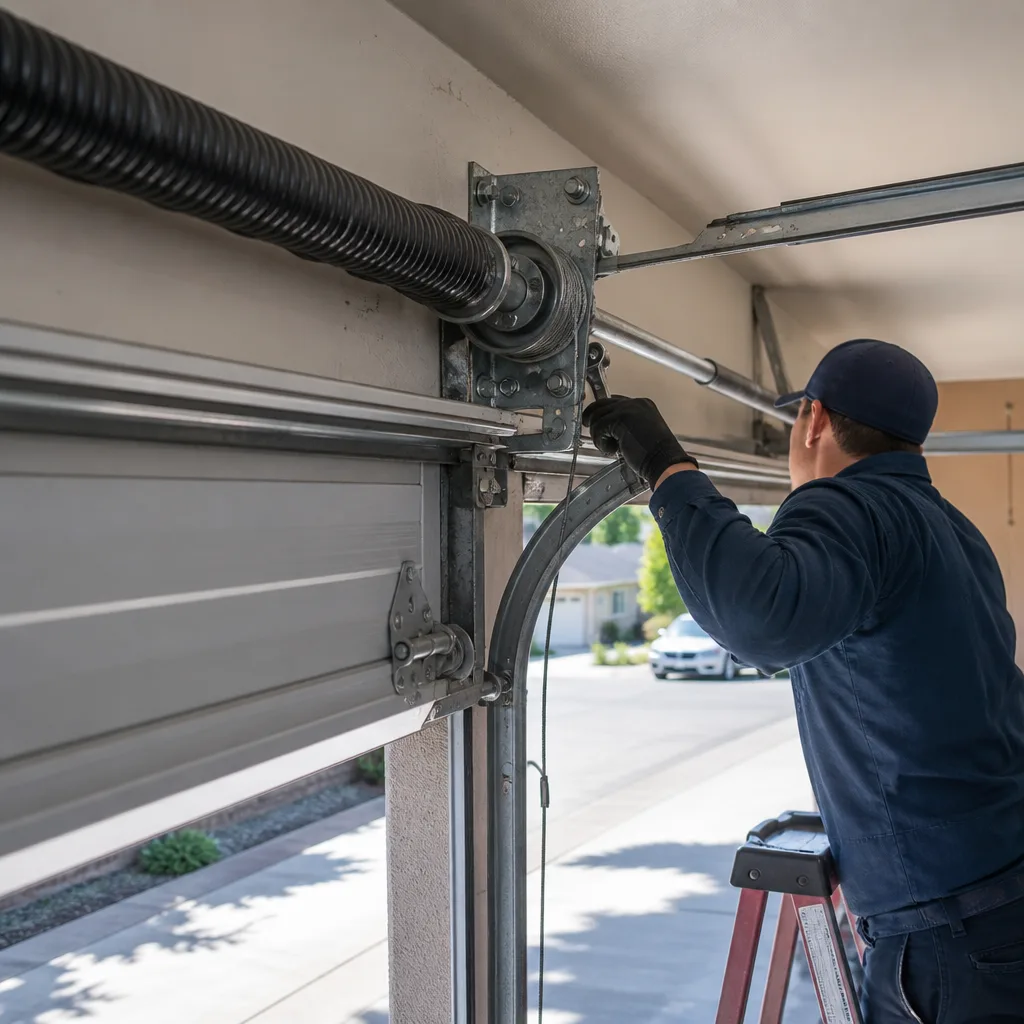 After
AfterGarage Door Repair Maintenance Checklist for Santa Clarita Homeowners
The number-one Garage Door Repair services call in the inland valley isn’t a broken spring. It’s a door that “works fine” until the opener burns out trying to move it, because a $4 lubrication step was skipped for three summers. In Santa Clarita, where July temperatures routinely hit 105 and Santa Ana winds carry fine dust into every track and roller, garage doors fail in a predictable sequence. Most maintenance checklists ignore this. They hand you a generic twelve-point list copied from a manufacturer PDF, written for a climate that doesn’t exist here. This guide is different. We’ve organized every task around what actually goes wrong in Santa Clarita’s dry heat, so you’re inspecting the parts that wear out here, not everywhere, and you stop fixing the same components twice.
Quick Answer
Homeowners in Santa Clarita should inspect, lubricate, and balance-test their garage door twice yearly: once in April before summer heat expands metal components and dries seals, and once in October before cold-snap contraction stresses springs and cables. The core tasks are a two-minute balance test, silicone-based lubrication of rollers and hinges, visual inspection of cables and bottom brackets for fraying or rust, and documentation with photos so year-over-year wear can be tracked. Skip any of these in this climate, and you’re likely replacing an opener or spring within eighteen months. For Garage Door Warning Signs: A Santa Clarita Homeowner’s Reference Guide, see our detailed breakdown.
Table of Contents
- Why Santa Clarita Garage Doors Fail Differently
- The Seasonal Maintenance Calendar
- The Two-Minute Balance Test
- Lubrication: What to Use Where, and What Never to Use
- Visual Inspection: Cables, Brackets, and Hardware
- Documentation and Photography: The Ignored Maintenance Tool
- Opener Maintenance and Safety System Testing
- Common Mistakes to Avoid
- When to Call a Professional
- Frequently Asked Questions
- The Bottom Line
Why Santa Clarita Garage Doors Fail Differently
Most garage door maintenance advice assumes a temperate climate with moderate humidity. Santa Clarita is not that. We’re in the high desert edge of Los Angeles County, with summer highs that regularly push past 100 degrees, winter lows that dip into the 30s, and Santa Ana wind events that blast fine particulate through every gap in a garage door system. These conditions create a specific failure pattern we’ve watched repeat across Valencia, Saugus, Newhall, and Canyon Country for over four decades.
The sequence starts with heat. Metal springs, tracks, and hardware expand in summer. Lithium and standard petroleum-based lubricants thin out and run off vertical surfaces. Dust settles into the remaining sticky residue, forming an abrasive paste that wears rollers and hinges faster than clean, dry metal would. By October, when temperatures drop rapidly, contracted metal components sit in slightly different positions than they did in June. Springs that were already cycling toward fatigue now experience stress at new angles. Cables that lost lubrication protection over summer develop micro-fraying that cold temperatures make brittle.
Then the wind arrives. Santa Ana events in late fall and early winter force dust and debris into track systems. Doors that were already running slightly rough from summer wear now bind. The opener motor works harder. In our experience, this is when we see the highest rate of opener gear stripping and capacitor failure in Santa Clarita. The door didn’t “suddenly” break. It spent six months signaling distress that a proper seasonal checklist would have caught.
Homes in Sand Canyon and the northern hills face an additional factor: greater daily temperature swings. A door in Canyon Country might cycle through 40 degrees in a single January day. That thermal cycling accelerates metal fatigue compared to homes in flatter, more moderate Valencia neighborhoods. Your maintenance interval shouldn’t change, but your vigilance for spring and cable wear should increase if you live in these higher-elevation areas.
Finally, water matters less here than elsewhere, but when it does arrive, it arrives wrong. Santa Clarita’s occasional heavy winter rains come after long dry spells. Seals that have hardened in summer heat can’t flex properly. Water that does penetrate tends to carry higher mineral content than coastal areas, leaving deposits that corrode aluminum components differently than typical rust. We’ve replaced more bottom seals in January than any other month, always on doors that “were fine until that storm.”
Understanding this sequence, the rest of this guide organizes maintenance by season and by the actual failure modes we see on garage door repair calls in Santa Clarita.
The Seasonal Maintenance Calendar
Don’t maintain your garage door “when you think of it.” Maintain it before the season that breaks it. Here’s the calendar we recommend to homeowners across Santa Clarita, based on what we’ve observed since 1984.
April Maintenance: Before the Heat
The goal is preparation. Summer will test every component. You want lubrication in place, balance verified, and worn parts identified before the stress arrives.
- Test door balance. Disconnect the opener and lift manually. A properly balanced door stays at any position between fully open and fully closed. If it drifts up or down, the springs are fatiguing. In Santa Clarita’s heat, unbalanced doors overwork openers through July and August. This test takes under two minutes and requires no tools. Detailed steps are in the next section.
- Lubricate all moving metal. Rollers, hinges, bearing plates, and springs. Use silicone-based spray for rollers and hinges in this climate. Lithium grease for torsion springs. See the full lubrication matrix below. Do not lubricate the track itself, a common error that attracts dust.
- Inspect weatherstripping. Check the bottom seal and perimeter seals for hardening or cracking. Santa Clarita’s dry heat turns rubber brittle faster than coastal climates. A failed bottom seal in summer lets dust infiltrate the garage continuously, coating vehicles and eventually entering the track system.
- Clear and inspect the track. Wipe both vertical and horizontal track sections with a clean cloth. Check for dents, especially at the curve where vertical meets horizontal. Wind-blown debris in Santa Clarita often impacts this area. Minor dents can be tapped straight; significant deformation requires professional track replacement.
- Test safety systems. Place a solid object like a 2×4 on the floor center and close the door. It must reverse on contact. Test photoelectric sensors by passing a broom handle through the beam during closing. Clean sensor lenses, dust accumulation is rapid here.
- Tighten hardware. With the door closed, check all roller brackets, track mounting bolts, and opener arm connections. Use a socket wrench, not a screwdriver. Do not overtighten; hardware should be snug, not stripped.
- Photograph everything. Cable condition, spring appearance, roller wear patterns, seal state. Date the photos. This documentation becomes your baseline for October comparison. More on this in the dedicated section below.
October Maintenance: Before Contraction and Wind
The goal is recovery assessment. Summer has done its damage. Winter will add contraction stress and wind debris. Identify what summer degraded before cold temperatures make it brittle.
- Re-test door balance. Springs that were marginal in April may have crossed into failure territory. A door that required slight assistance in spring may now be genuinely heavy. If the door won’t stay at mid-position, spring replacement is likely needed before winter cycling increases.
- Re-lubricate. Summer heat has degraded or displaced April’s application. Focus especially on springs and bearing plates, which experience the most thermal stress. In Santa Clarita’s dry climate, lubrication doesn’t “wash away” as it might in humid regions, it degrades from heat and dust contamination.
- Inspect cables with magnification intent. Look for fraying, especially within two inches of the bottom bracket connection and the drum wrap area. Summer heat followed by fall cooling creates micro-movement at these stress points. Any visible fraying means replacement within 30 days; any cable showing individual broken strands means immediate professional service. Cables under tension can cause serious injury or death if they release unexpectedly.
- Inspect bottom brackets. These connect the cable to the door panel and bear enormous load. Look for cracks in the bracket metal, elongated bolt holes, or rust streaking. In Santa Clarita, the combination of summer dust and occasional winter moisture creates unique corrosion patterns at these brackets.
- Clear drainage around the garage. Santa Clarita’s winter rains, though infrequent, can be intense. Ensure water flows away from the garage door threshold. Standing water accelerates bottom seal deterioration and can warp lower door panels on wood or composite doors.
- Test backup battery. If your opener has battery backup (required on new installations under California law), verify function. Power outages during Santa Ana wind events are not uncommon. A door that won’t open during an evacuation is a hazard.
- Compare to April photos. Has cable fraying progressed? Has spring coil spacing changed? Are rollers showing flat spots or bearing wear not visible six months ago? Document again with dated photos.
| Task | April | October | Notes for Santa Clarita |
|---|---|---|---|
| Door balance test | Yes | Yes | Critical before heat stress and before cold contraction |
| Lubrication | Full application | Touch-up and replacement | Silicone-based preferred; heat degrades petroleum products |
| Cable inspection | Visual | Magnified, documented | Fall inspection more critical; summer heat pre-fatigues |
| Bottom bracket check | Visual | Detailed | Dust-moisture corrosion unique to this climate |
| Weatherstrip | Replace if hardened | Verify seal after summer | Heat hardening is primary failure mode here, not rot |
| Safety system test | Yes | Yes | Dust accumulation on sensors is rapid in Santa Clarita |
| Hardware torque check | Yes | Yes | Thermal cycling loosens fasteners |
| Photographic documentation | Baseline | Comparison | Year-over-year tracking prevents guesswork |
| Opener battery backup | Verify charge | Load test | Wind-event power outages make this essential |
| Track clearing | Post-wind-debris | Pre-wind-season | Santa Ana timing varies; October is typical preparation |
The Two-Minute Balance Test
This test tells you more about remaining spring life than any visual inspection. It requires no tools, no mechanical knowledge, and no risk if performed correctly. We teach it to every Santa Clarita homeowner who asks, and we wish more would perform it regularly.
Step-by-Step
- Close the door fully.
- Pull the red emergency release cord. This disconnects the opener trolley from the door. The door is now manual.
- Lift the door slowly by the handle (or bottom edge if no handle) to about waist height, roughly three to four feet off the ground.
- Release the door smoothly. Do not push it up or pull it down as you let go.
- Observe what happens.
What the Result Means
- Door stays at waist height: Springs are properly balanced. This is the ideal state.
- Door drifts slowly upward: Springs are slightly over-wound or the door is lighter than spec (rare, usually indicates spring replacement with incorrect wire size). Not immediately dangerous, but opener wear increases slightly.
- Door drifts slowly downward: Springs are fatiguing. The opener is working harder on every close cycle. In Santa Clarita’s heat, this accelerates opener failure. Schedule spring assessment within 60 days.
- Door falls rapidly or won’t stay up at all: Spring failure is imminent or partial. Do not operate the door except to get vehicles out. Call for professional service. Operating with failed springs damages the opener and creates safety hazards.
- Door is very heavy to lift: One spring in a two-spring system has broken, or both are severely fatigued. The opener is doing nearly all the work. Stop using the automatic function immediately.
Perform this test monthly if your door is over ten years old, quarterly if five to ten years, and at minimum twice yearly for newer doors. In Santa Clarita, we’ve found that doors exposed to direct afternoon sun on the west-facing garage wall fatigue springs roughly 15% faster than shaded doors. If your garage faces west in Valencia or Saugus, lean toward monthly testing.
After testing, re-engage the opener by pulling the release cord toward the opener motor while the door is in the closed position, then run the opener to reconnect the trolley.
Safety note: If you discover spring failure through this test, do not attempt to adjust or replace springs yourself. Torsion springs store lethal energy. Extension spring systems also carry significant risk. This test is diagnostic only. Professional spring replacement in Santa Clarita includes proper winding, balance verification, and safety cable installation where required.
Lubrication: What to Use Where, and What Never to Use
The wrong lubricant in Santa Clarita’s climate is worse than no lubricant at all. We’ve opened track systems caked with black sludge because a homeowner used WD-40 for three years, attracting dust that formed grinding paste. Here’s what actually works here.
The Product Matrix
| Component | Recommended Product Type | Specific Examples | Why in Santa Clarita |
|---|---|---|---|
| Rollers (steel, ball-bearing) | Silicone spray with Teflon/PTFE | Blaster Silicone with Teflon, Liquid Wrench Silicone | Stays fluid at 110°F, doesn’t attract dust like petroleum |
| Hinges | Silicone spray or white lithium grease (light) | Same as above, or CRC White Lithium Grease (thin coat) | Hinges see less load than springs; silicone is sufficient |
| Torsion springs | White lithium grease or dedicated spring lubricant | Lubriplate L0166-098, or CRC White Lithium | Heavier body stays on vertical spring; prevents coil binding |
| Bearing plates (end bearings, center bearing) | White lithium grease | CRC White Lithium, Lucas White Lithium | These rotate under full spring tension; need lasting lubrication |
| Extension spring pulleys | Silicone spray | Blaster Silicone with Teflon | Accessible; frequent light application prevents dust buildup |
| Chain or screw drive opener | Manufacturer-specified lubricant | LiftMaster chain lube, Genie screw drive lube | Varies by opener type; wrong product voids warranty |
What Never to Use
- WD-40 as a lubricant: It’s a water displacement formula with light oil. It evaporates, leaves a sticky residue, and attracts dust. Fine for freeing a seized bolt, wrong for ongoing lubrication.
- Penetrating oils (PB Blaster, Liquid Wrench penetrating): These are designed to creep into seized threads, not to lubricate moving parts. They wash away existing lubrication.
- Heavy grease or bearing grease on tracks: Tracks are not a bearing surface. The rollers roll; they don’t slide. Grease on tracks collects dust and creates resistance. Clean tracks with a dry cloth only.
- Graphite lubricants: Effective for locks, but in Santa Clarita’s dust environment, graphite combines with airborne particulate to form an abrasive compound. We’ve replaced prematurely worn rollers where graphite was used.
- Household oils (3-in-1, motor oil): These thin excessively above 90 degrees and varnish in heat. They also lack the anti-wear additives found in products formulated for garage door components.
Application Technique
Less is more. A light, even coating on the target component is correct. Lubricant running down the door or pooling on the floor is excess. For springs, apply a thin line along the top of the coil; the spring’s own rotation distributes it. For rollers, spray the bearing area where roller stem meets wheel, not the roller surface that contacts track. For hinges, a brief spray at each pivot point while working the door manually distributes the product.
In Santa Clarita, we recommend lubricating in early morning during summer months. Product stays on the component longer before heat thinning occurs, and you’re not working in dangerous temperatures. Never lubricate a door under tension without verifying the opener is disconnected and the door is secured.
Visual Inspection: Cables, Brackets, and Hardware
Cables and bottom brackets are the most dangerous components for homeowners to handle, and the most important to inspect. A failed cable under load can whip with lethal force. A failed bottom bracket can drop a door panel. These inspections are visual and documentary only. Do not touch, adjust, or attempt repair.
Cable Inspection Criteria
Stand to the side of the door, never directly in line with the cable path. With the door closed, examine the full visible length of each cable. Use a flashlight; cables are 1/8-inch aircraft-grade wire rope, and early fraying is easy to miss in shadow.
- 30-day replacement window: Any visible fraying, any “fuzzy” appearance to the cable surface, any rust discoloration, any kink or bend in the cable path. These indicate fatigue that will progress rapidly under load cycling.
- 90-day replacement window: Minor surface oxidation without fraying, slight darkening from lubrication aging, uniform wear pattern without individual broken wires. These are monitor-closely conditions, not emergencies.
- Immediate professional service: Any broken strand visible, any cable that has shifted position on the drum, any cable that appears shorter on one side (indicates unwinding or drum slip), any door that opens crooked. A crooked-opening door is often a cable failure in progress.
In Santa Clarita, cable inspection in October is especially important. Summer heat expands and contracts the cable; fall cooling creates new stress patterns. We’ve replaced more cables in November and December than any other months, always on systems that showed no visible issue in spring.
Bottom Bracket Inspection
The bottom bracket connects the lifting cable to the lowest door panel. It contains a pulley or attachment point that experiences the full dynamic load of each open/close cycle.
- Look for cracks in the bracket casting, especially at bolt holes and the cable attachment point.
- Check for elongated or wallowed bolt holes, indicating movement under load.
- Watch for rust streaking from the bracket down the door panel, indicating moisture intrusion at the connection.
- Verify the bracket is flush against the door panel; any gap indicates stripped fasteners or panel damage.
Bottom bracket failure in Santa Clarita often follows a specific pattern we’ve tracked for years. Summer dust infiltrates the bracket pivot, creating grinding wear. Fall moisture (from rare rains or morning condensation) reaches the worn surface, accelerating corrosion. By January, the bracket shows visible degradation. Homeowners who inspect in April and October catch this progression; those who don’t see sudden “unexpected” failure in February or March.
Hardware and Roller Inspection
With the door closed, examine each roller. Steel rollers should turn freely; nylon rollers should show no flat spots or cracking. In Santa Clarita’s heat, nylon rollers degrade faster than in mild climates. We’ve seen five-year-old nylon rollers in west-facing garages that look fifteen years old.
Check hinge condition at each panel joint. Hinges should be straight, bolts tight, and no cracks radiating from bolt holes. A cracked hinge places uneven load on the door panel and accelerates panel fatigue.
Examine track mounting brackets where vertical track attaches to the wall framing. These carry the lateral load if a door is struck or binds. In Santa Clarita’s occasional seismic activity, these brackets can loosen over years. They should be secure with no visible wallboard damage around fasteners.
Documentation and Photography: The Ignored Maintenance Tool
The most effective maintenance tool costs nothing and takes ten minutes: dated photographs of every component, stored where you’ll find them. We recommend this to every Santa Clarita homeowner, and the ones who do it get better service, faster diagnosis, and avoid repeat repairs.
What to Photograph
- Full door, closed, exterior view. Shows panel condition, paint or finish state, any visible damage.
- Full door, closed, interior view. Shows spring system type (torsion or extension), cable routing, opener mounting.
- Each spring, close-up. Capture the full coil set. Over time, you’ll see coil spacing changes that indicate fatigue.
- Each cable, full length. Stand to the side; capture from bottom bracket to drum.
- Bottom brackets, both sides. Close-up of bracket and attachment.
- Rollers, representative sample. One from top, middle, bottom sections.
- Opener unit, nameplate visible. Model and serial number for parts reference.
- Safety sensors, mounting position. Shows if they’ve been knocked askew.
How to Store and Use
Create a folder on your phone or computer: “Garage Door [Year].” Store April and October photos separately. When you call for service, mention you have dated photos. A technician from Mainspring Garage Door Co. can review them before arriving, bringing correct parts and understanding the system’s history.
The real value emerges over years. A homeowner in Newhall called us in 2022 with a “sudden” spring failure. She had photos from 2019 showing normal coil spacing, 2020 showing slight expansion, and 2021 showing clear fatigue. The failure was predictable for three years; she’d simply forgotten what “normal” looked like. After replacement, she continues the practice. Her current photos show a properly balanced system with no degradation. She knows. That’s the point.
For new garage door installations in Santa Clarita, we provide baseline documentation as part of our standard service. For existing doors, start today. The first set of photos is your most valuable, even if you’ve never documented before.
Opener Maintenance and Safety System Testing
The opener is not the door. It’s a motor that moves a door. When the door is properly maintained, the opener lasts its designed lifespan. When maintenance is skipped, the opener dies early, always expensively, and often at inconvenient times. In Santa Clarita, we see more premature opener failures from neglected door maintenance than from actual opener defects.
Opener-Specific Maintenance
- Chain or belt tension: A sagging chain slaps the rail and wears sprockets. A too-tight chain strains the motor. Check manufacturer specification; typically, chain sag should be 1/2 to 3/4 inch at rail midpoint. Adjust via the tension nut at the opener head.
- Screw drive lubrication: Genie screw drive openers require specific lubricant on the screw thread. Apply sparingly annually. Other opener types do not use screw drive systems.
- Rail alignment: The opener rail must be parallel to the door header and level. Thermal expansion in Santa Clarita’s heat can loosen mounting hardware over years. Verify visually; a drooping rail strains the trolley.
- Backup battery: California requires battery backup on new installations. Test by unplugging the opener; the battery should power at least one full cycle. Replace batteries every 2-3 years regardless of test results; heat degrades lead-acid and lithium batteries faster than mild climates.
- Light bulbs: Use only opener-rated LED bulbs if upgrading from incandescent. Standard LEDs can interfere with radio receivers, causing remote inconsistency that mimics opener failure.
Safety System Testing
Federal law since 1993 requires two independent safety systems: mechanical reversal on contact, and photoelectric non-contact reversal. Both must function for the opener to be legally and safely operable.
Mechanical reversal test: Place a solid object, 1-1/2 inches high minimum, flat on the floor center. A 2×4 laid flat is standard. Close the door using the wall button (not remote). The door must reverse within 2 seconds of contact. If it stops without reversing, or continues downward, the opener is unsafe. The force adjustment requires professional calibration; do not attempt to increase force to overcome a binding door.
Photoelectric sensor test: With the door open, start closing with the wall button. Pass a broom handle through the sensor beam at knee height. The door must reverse immediately. If sensors are misaligned, the opener typically won’t start closing, or the lights flash. Clean lenses with a soft cloth; Santa Clarita dust accumulation is rapid and often the sole cause of sensor malfunction.
Sensor alignment: Both sensors should show steady indicator lights (typically green and yellow, or both green, depending on brand). Blinking lights indicate misalignment. Loosen one sensor bracket, adjust until steady, then retighten. Verify with the broom test.
After any safety system adjustment, perform both tests again. Document the date. If either test fails after basic cleaning and alignment, call for service. Do not bypass safety systems.
For garage door opener service in Santa Clarita, including force adjustment, travel limit calibration, and safety system verification, we arrive with factory-familiar knowledge of LiftMaster, Chamberlain, Genie, Craftsman, and Raynor systems.
Common Mistakes to Avoid
- Lubricating the track. The track guides rollers; it is not a bearing surface. Lubricant on the track attracts dust, forms abrasive sludge, and increases rolling resistance. Clean tracks with a dry cloth only.
- Ignoring the door and blaming the opener. In Santa Clarita, we estimate 40% of “opener failures” are actually door balance or binding issues. Replacing an opener without fixing the door guarantees premature second failure. Always test balance first.
- Using the wrong lubricant seasonally. Homeowners who apply heavy grease in April find it thinned and runny by August. Those who use light silicone in October find it inadequate by February. Match product to component and climate, not convenience.
- Photographing only when something looks wrong. Without baseline “normal” photos, you cannot judge progression. The first photo set is your most important, even on an old door.
- Testing safety systems with insufficient objects. A rolled towel or cardboard box is too light and compressible. Use a solid 2×4 or equivalent. The test is meaningless otherwise.
- Neglecting extension spring safety cables. If your door has extension springs (parallel to horizontal tracks, not above the door), they must have safety cables running through the spring center. These contain the spring if it breaks. We’ve found missing or broken safety cables in Santa Clarita homes where homeowners never knew to check. This is a critical safety item.
- Assuming silence means health. A quiet door is not necessarily a healthy door. Openers can mask developing problems with power. The balance test reveals what sound conceals.
When to Call a Professional
Some maintenance is homeowner-appropriate. Some is not. Know the boundary.
Call a professional for: spring adjustment or replacement (lethal tension, no exceptions); cable replacement or drum repair; bottom bracket service or replacement; track realignment or replacement; opener force adjustment or internal repair; any door that has been struck by a vehicle or shows panel damage; any system that fails the safety reversal test after basic cleaning; and any situation where you are uncertain of the safe procedure.
In Santa Clarita, Mainspring Garage Door Co. offers free estimates with upfront pricing stated before any work begins. Our trucks carry springs, cables, rollers, and openers for all major brands, so most jobs finish in a single visit. Every job carries our 90-Day Done Right Promise in writing. If it’s not right, we return at no charge. No paperwork, no argument.
Carl Dutton has led Mainspring since 2016, building on a company founded in 1984. We answer the phone with a live person, 24/7, including nights, weekends, and holidays. Call (661) 384-8741 for a free estimate or to schedule service.
Frequently Asked Questions
Professional seasonal maintenance typically runs $89 to $150, depending on door size and system complexity. Mainspring’s $89 Seasonal Tune-Up includes full inspection, lubrication, balance test, safety system verification, and written condition report. Call (661) 384-8741 for exact pricing on your specific door.
Homeowners can safely perform visual inspection, lubrication, safety testing, and photography. Spring, cable, and bottom bracket work requires professional training and tools due to lethal stored energy. The balance test and safety system tests are homeowner-appropriate and should be performed regularly. Explore our more guides & resources for additional maintenance tips. If any test reveals an issue, call for professional service rather than attempting repair.
Twice yearly: April before summer heat, and October before winter contraction and wind. Doors over ten years old, or doors on west-facing garages with direct afternoon sun, benefit from monthly balance tests. Santa Clarita’s heat and dust accelerate wear compared to coastal or temperate climates.
Heat thins lubrication, expands metal components into tighter tolerances, and hardens rubber rollers and seals. The combination increases friction and vibration. Summer noise that resolves with proper lubrication indicates maintenance need; noise that persists after lubrication suggests component wear requiring replacement.
Pull the red emergency release cord to disconnect the opener, then lift the door manually. If the door is properly balanced, this requires moderate effort. If the door is very heavy, springs may be failing and the opener has been masking the problem. Install a battery backup opener for automatic operation during outages, required on new California installations and strongly recommended for existing systems.
No. Mainspring states the flat price before any work begins. The estimate you approve is the invoice you receive. If additional issues are discovered during service, we discuss them and obtain approval before proceeding. No surprises on the bill.
The Bottom Line
Garage door maintenance in Santa Clarita is not about following a generic checklist. It’s about understanding the specific failure sequence that this climate creates: heat thinning lubrication, dust forming abrasive paste, thermal contraction stressing fatigued springs, and wind forcing debris into compromised systems. Maintain in April before the heat, and in October before the cold and wind. Test balance in two minutes without tools. Use silicone on rollers, lithium on springs, and nothing on tracks. Photograph everything for year-over-year comparison. Know what you can do safely, and know when to call a professional for the dangerous work. Do this, and your door will outlast the openers, springs, and neighbors who skipped the steps.
Written by Carl Dutton, Owner at Mainspring Garage Door Co., serving Santa Clarita since 2016.